Introduction
Post-production is a very critical part of the whole content creation process, an aspect that we know many studios struggle with. It has to be fast, it must be very accurate and it has to be very cost effective. Managing this at high volume production can be very challenging.
In ProStudio, we support these processes through a range of features and functions. First and foremost are the Work Order and Asset status. Together, these two tools help you manage high volumes quickly and accurately.
The External Post-Production Process
It all starts with the Work Order. Once the capture process is complete and all assets have been uploaded to ProStudio, the photographer can hand over to the assigned post-production team or person, who will then follow this process:
The download process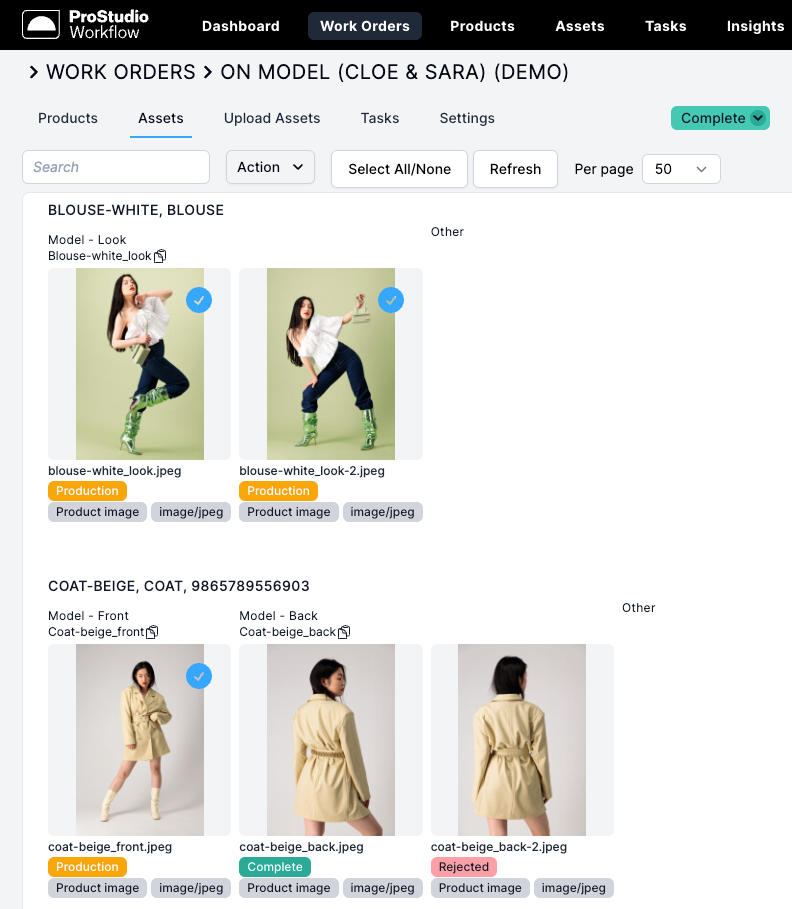
They will follow this process:
- Open the Work Order
- Verify that the Work Order status is set to "Post-production."
- Select the Asset view in the Work Order
- Choose the assets to retouch (this can be all or a selected few)
- Use the Asset status to identify the items for retouching
- Download the selected assets
- Perform the retouching work
- Save the retouched images using the same file name as the downloaded version
- The format can differ, if necessary
Ship to external partner
Most companies use services like FTP, Dropbox, WeTransfer, or similar platforms, depending on the standards set by the retouching partner.
Select your standard method of communication with your partner and send the assets as usual.
Note: It's crucial to set the correct status on the assets to indicate that they are in retouching.The upload process
Once the retouching process is complete, you should upload the retouched images to ProStudio.
Note: The filename should be consistent even though you have changed the format. E.g. from RAW to JPEG.Follow this procedure:
 Open the Work Order
- Select "Upload assets."
- Drop the retouched assets into the drop area
- Skip the upload matching rule
- Select the asset category
- Set a new status to indicate the images have been retouched
- Click "Create and match selected assets."
- Go to the "Assets" view and verify that the assets have been imported correctly
Note: Should anything go wrong in matching assets to a product and view, this can always be corrected manually by opening the preview panel and edit product and view relations.Key success factors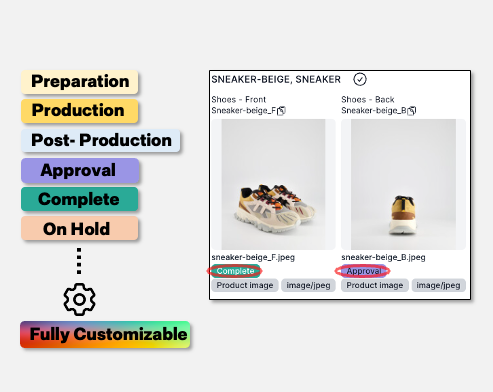
The key success factors are:
- Work Order
- Work Order status
- Asset status.
By ensuring you have a clear understanding and solid principles for working with these entities, you'll have full control of the retouching process, whether you're working internally or with an external partner.
Was this article helpful?
That’s Great!
Thank you for your feedback
Sorry! We couldn't be helpful
Thank you for your feedback
Feedback sent
We appreciate your effort and will try to fix the article